DIY Beeswax Lip Balm
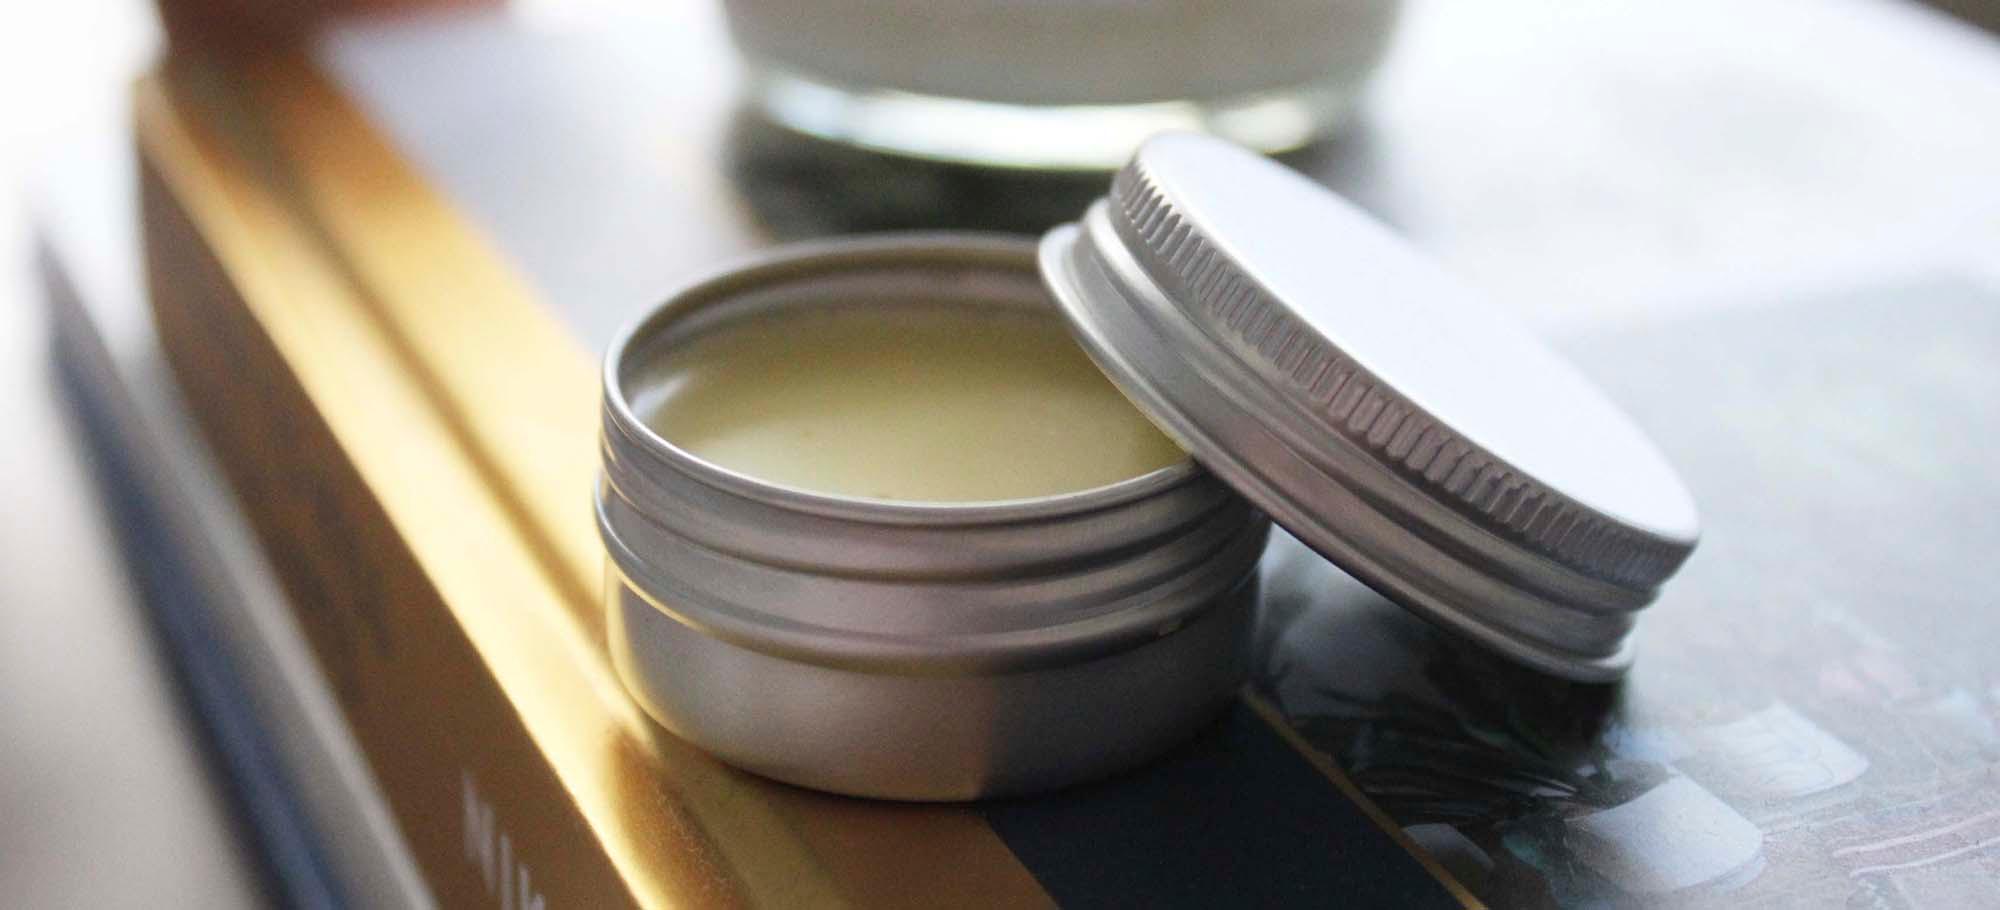
Banish dry and cracked skin with our DIY guide to making your own lip balm. There are many different types available to buy, but making your own is easier than you think.
As well as the hydrating qualities of a lip balm, they are also wonderful gift ideas for friends and family. With the various challenges we have been facing so far in 2020, perhaps we might be approaching Christmas a little differently this year. Here at Thought, we’re using this as an opportunity to get crafty; thinking about small changes we can make in our daily lives in the run up to the festive season. We’ve put together a DIY lip balm tutorial that’s quick and easy and uses simple, natural ingredients.

Ingredients

A few drops of your favourite essential oil (we used vitamin E oil)
You will also Need
A small saucepan
A cheese grater (this isn’t essential, but it makes it easier to melt your beeswax!)
Measuring spoons
A glass bowl
Small metal tins
Method

1. Fill your pan half way with water, and put it on a medium-level heat. Pop your glass bowl on top of the pan, and make sure it doesn’t touch the water in the pan.
2.While waiting for the water to boil, grate the beeswax.
3.When the water in the pan has boiled, tip your beeswax into the glass bowl, and give it a little stir while it melts.
4.Just before the beeswax has fully melted, add your coconut oil, honey and essential oil, and mix it all together well. The beeswax takes the longest to melt, but you’ll know it’s ready when it is completely smooth.
5.Turn off the heat, and quickly pour the liquid into your tin. It’s important to do this quickly as the liquid will start to set very quickly once it cools.
6.Leave the lid off your tin while it cools and sets. Wait about half an hour, and your lip balm is ready to enjoy!

