Capturing Summer: Pressed Flower Project
If there's one season that always seems to be too short, it's summer.
We've been thinking about ways to keep a little bit of the sunny season for longer, and while chatting with Victoria of Found & Sewn, she suggested a pretty, pressed flower tutorial. Her easy steps really do make the perfect floral tribute – give it a go and why not find some vintage picture frames to pop them into? You can usually pick some up in local charity shops. Over to Victoria…


 Selection of flowers, grasses, leaves
Absorbent paper
Watercolour paper
Watercolour paints
Scissors
Pencil
Glue
Needle & thread
Selection of flowers, grasses, leaves
Absorbent paper
Watercolour paper
Watercolour paints
Scissors
Pencil
Glue
Needle & thread


 I think they look lovely. I can't wait to frame them and then in the depths of winter I can remember that captured piece of summer.

 foundandsewn.blogspot.co.uk
 Is there something you do to make the season last longer? Plan on pressing flowers of your own? We'd love to see a few snaps of how you get on! Share your pictures with us on Facebook or Twitter.
Emma x
Is there something you do to make the season last longer? Plan on pressing flowers of your own? We'd love to see a few snaps of how you get on! Share your pictures with us on Facebook or Twitter.
Emma x
Victoria's Pressed Flower Tutorial
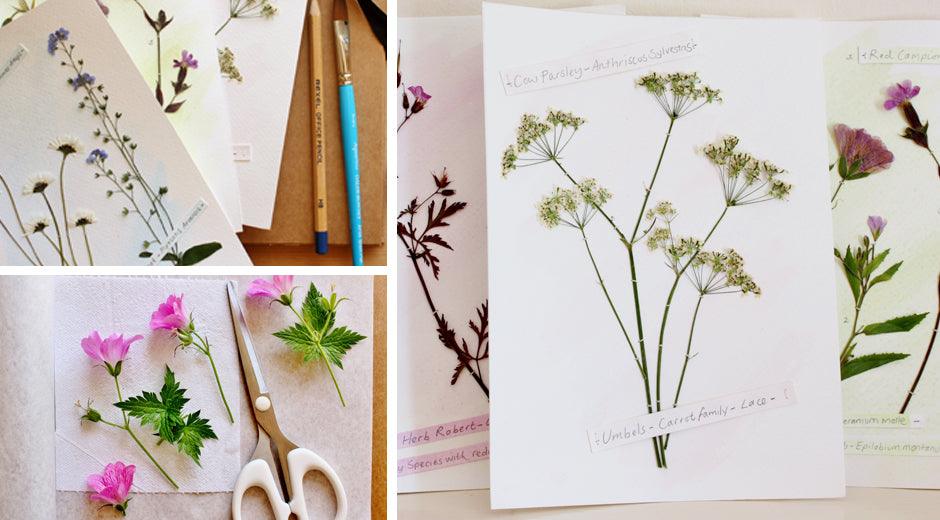
I was flicking through a book the other day and out fell pressed pink Rose petals, which instantly took me back to a beautiful garden that I visited a few summers ago. I must have put the petals in the pages of a book I was reading at the time and had forgotten about them, until now. Pressing flowers is an age-old tradition, they are little time capsules capturing summer, a day or a moment. This is a really simple pressed flower tutorial, creating little memories of each flower. Framed, they make lovely gifts, cards or just hidden away to surprise you another day.
Selection of flowers, grasses, leaves
Absorbent paper
Watercolour paper
Watercolour paints
Scissors
Pencil
Glue
Needle & thread
Step 1
You can press a selection of flowers, petals, leaves, seed heads and grasses. Make sure they are clean, dry and free from bugs. Carefully place a few chosen flowers in between absorbent lined pages of a book. Close the book and add extra weight (you can stack more books on top). It takes about two weeks to press flowers.
Step 2
I've used A5 watercolour paper, but you can use any size you like. Give your paper a light wash of watercolour paint in a colour that'll work with your chosen flower. You could also use a tea stain for a vintage look.
Step 3
I like to stitch my flowers on to the paper rather than using glue. Lay your flowers on to each page and carefully stitch over the stems, just enough to attach it to the paper. Use a piece of tape on the back of each page to fasten off the stitches.
Step 4
I've glued on little name tags including the Latin names and short descriptions - you could also add the date and place where you picked the flowers.
I think they look lovely. I can't wait to frame them and then in the depths of winter I can remember that captured piece of summer.
foundandsewn.blogspot.co.uk
Is there something you do to make the season last longer? Plan on pressing flowers of your own? We'd love to see a few snaps of how you get on! Share your pictures with us on Facebook or Twitter.
Emma xRead more
category: live well
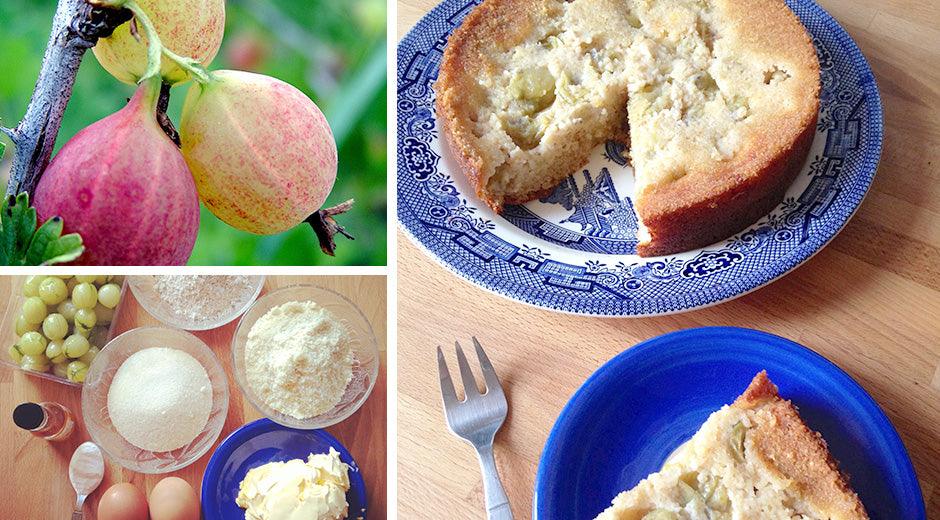
Seasonably Sweet: Gluten-Free Gooseberry Cake
Right now, it's gooseberry season here in the UK. With a little love and imagination these ‘quintessentially English’ berries can make delicious additions to both sweet and savoury dishes. However ...
Read more
category: live well
See & Do Summer: 5 Ways to Enjoy the Outdoors
While summer is in full swing (British weather and all!) there's an abundance of outdoor events taking place around the UK. And it isn't just festivals, how does fossil hunting, a family orchard tr...
Read more